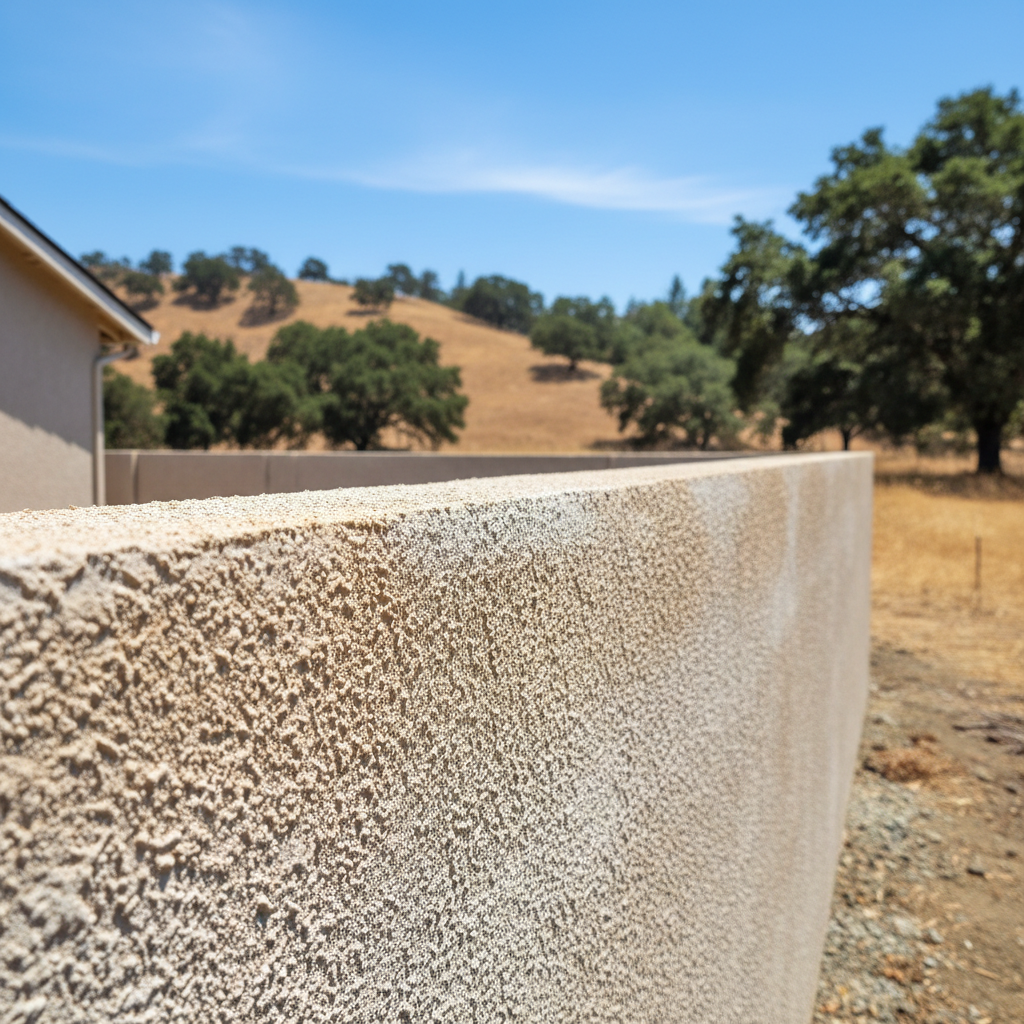
So, you've got a little crack or a chip in your stucco, and you're thinking, "Can I just patch this myself?" Fair question. For truly minor stuff, yeah, you probably can. But there's a line, and knowing exactly where that line is can save you a ton of grief and money later on. Trust me, I've seen plenty of homeowners bite off more than they can chew with stucco repairs, and it almost always ends up costing them more when they finally call us to fix the mess.
Before You Even Think About Repairing Anything
First things first: figure out what kind of damage you're actually dealing with. Is it just a tiny hairline crack? A bigger, spiderweb-like pattern? Or has a whole chunk of stucco fallen off? The type of damage tells you what kind of repair is needed, and whether it's a DIY job or something best left to the pros.
- Hairline Cracks: These are usually just cosmetic. They pop up from normal house settling or temperature changes. Often, you can fill these yourself.
- Spiderweb Cracks or Alligatoring: This usually signals a deeper problem — maybe the stucco mix wasn't right, or the base coat was applied poorly, or even water is getting in. This is often way beyond a simple patch.
- Bulging or Soft Spots: If your stucco feels squishy, or you see it pushing outwards, that's a massive red flag. It almost always means water's getting behind the stucco, and you've likely got rot or mold underneath. Do not touch this yourself. Call a pro immediately.
- Holes or Missing Chunks: Small holes, say from taking down an old light fixture, can be patched. But if you've got larger areas where the lath is showing? Now you're getting into more complex territory.
Also, consider how old your stucco is. Many older homes here in Vallejo, especially those built in the 50s and 60s around the Glen Cove area, often have a traditional three-coat system. Newer homes might use synthetic stucco (EIFS). The repair methods are totally different, and using the wrong materials can really make things worse.
What You Can Actually Do Yourself
For those small hairline cracks or tiny chips, go ahead and give it a try. Here’s the basic process:
- Clean the Area: Brush away any loose bits. You need a clean, dry surface to work with.
- Widen Hairline Cracks (Carefully!): Use a V-groove tool or even a screwdriver to slightly widen really thin cracks. This gives your patching material something to grab onto. Don't go crazy; just a little space is all you need.
- Dampen the Surface: Lightly mist the area with water. This helps the new stucco bond better and keeps it from drying out too fast.
- Apply Patching Compound: For small cracks, a good quality acrylic caulk or a pre-mixed stucco patch works fine. If you've got slightly larger chips, you'll need a small amount of stucco patch mix. Use a trowel or putty knife to press the material firmly into the crack or hole.
- Match the Texture: This is often the trickiest part for DIYers. If your stucco is smooth, it's easier. But if it's a dash or sand finish, you might need to dab it with a sponge or use a brush to try and blend the texture. It won't be perfect, but you can get it pretty close for small areas.
- Cure and Paint: Let it cure according to the product instructions. Then, you'll probably need to paint the patched area to match your existing stucco color. Good luck with that matching job; it's rarely easy, is it?
Remember, the main goal here is to stop water from getting in and make it look decent, not necessarily invisible. A perfect match is tough even for pros sometimes, especially on older, faded stucco.
When It's Time to Call a Pro (Like Us, Vallejo Stucco & Plastering)
Look, I'm all for homeowners saving a buck, but there are definitely times when trying to DIY a stucco repair is just asking for trouble. Here's when you absolutely should pick up the phone:
- Any Sign of Water Damage: Bulging, soft spots, discoloration, or mold. This means water's getting in, and you need someone to find the source and fix it right – not just patch the surface.
- Large Cracks or Extensive Damage: If you can stick your finger in a crack, or if you have multiple cracks spreading across a big section of your wall, you're dealing with structural issues or significant movement. A simple patch just won't cut it.
- Exposed Lath: If the wire mesh (lath) is visible, you're missing a lot of stucco, and you need proper layering to make sure it's durable and weather-resistant.
- Matching Complex Textures: Some stucco finishes are really hard to replicate without experience and the right tools. If you want it to blend in seamlessly, a professional is your best bet.
- Damage Near Windows, Doors, or Rooflines: These are critical spots for flashing and waterproofing. Messing up a repair here can lead to major water leaks inside your home.
- If You're Not Confident: Seriously, if you're feeling overwhelmed or unsure, don't risk it. A bad repair can easily cost more to fix than getting it done right the first time.
We've been doing stucco work in Vallejo for years at Vallejo Stucco & Plastering, and we've truly seen it all. From the small, simple fixes to the big, complicated water intrusion nightmares. If you're on the fence about whether to tackle it yourself or call for help, just give us a shout. We're happy to take a look and give you an honest opinion. Sometimes, a small repair really is just a small repair, but sometimes it's a warning sign of something much bigger.